Fitting the V8
Engine / gearbox conversion
- Purchased E271KUL - an ex police riot van. V8 + auto box. Stripped of engine, box, air-con & bulkhead
- Purchased an ex post office 200 series van.
- Built the engine
- 3.5litre Rover V8
- +20thou rebore
- 10.5:1 pistons
- EFi system from a Range Rover
4th Feb 2005 - the Van passes it's MOT and is legally on the road!
Below is a thumbnail sketch of the work involved in turning it from a slow noisy dog into a sleek sportsvan
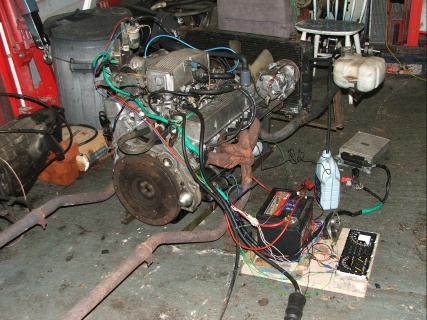
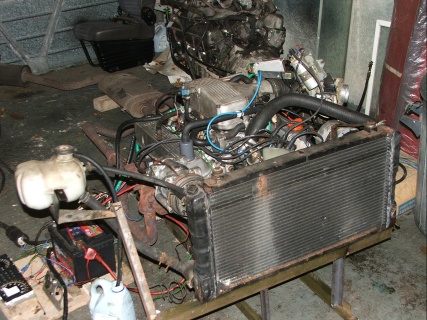
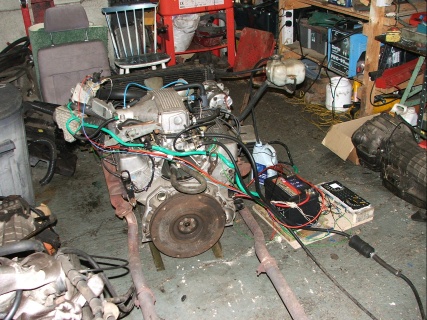
The first job was to build a new engine for it. Once built I tested it on the garage floor to make sure it was OK
 |
 |
 |
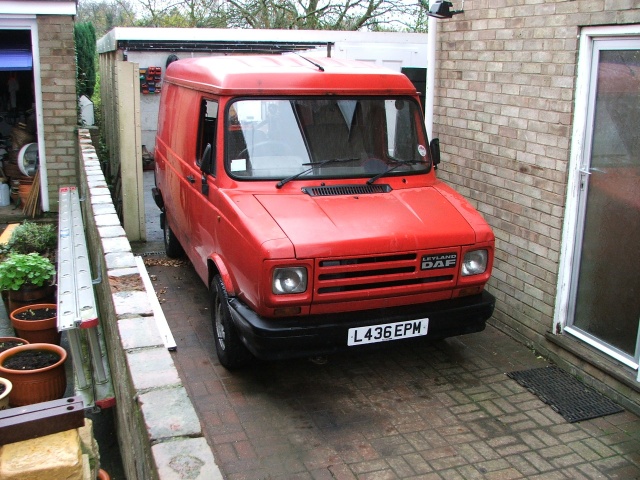
The Van
 |
 |
 |
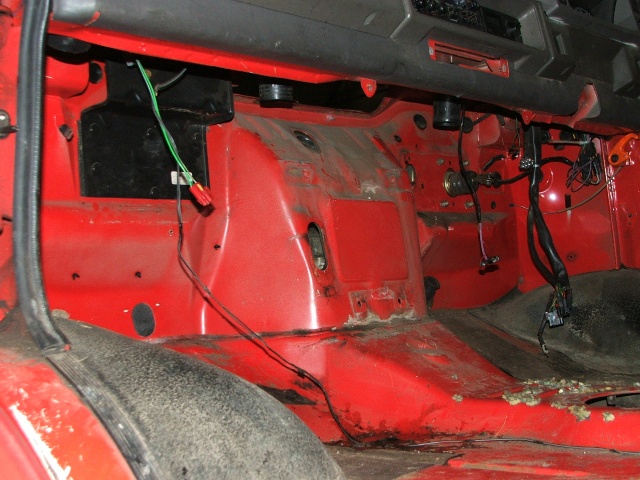
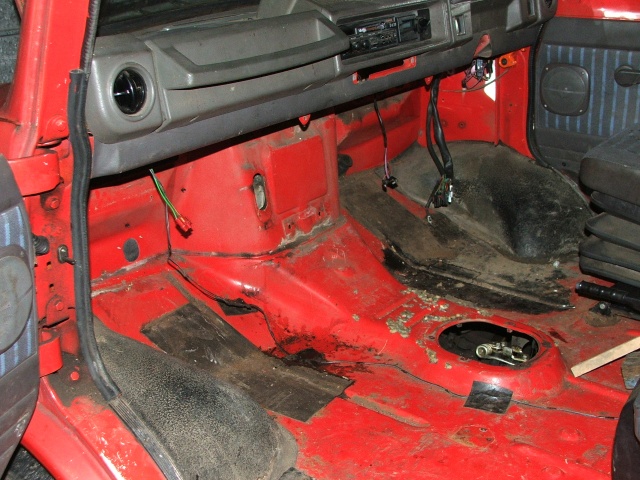
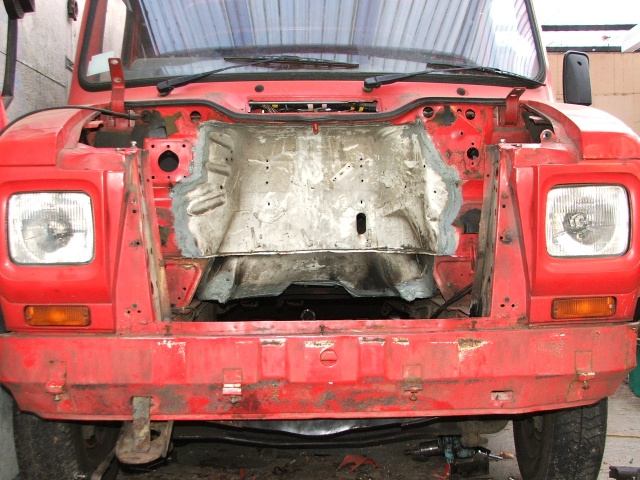
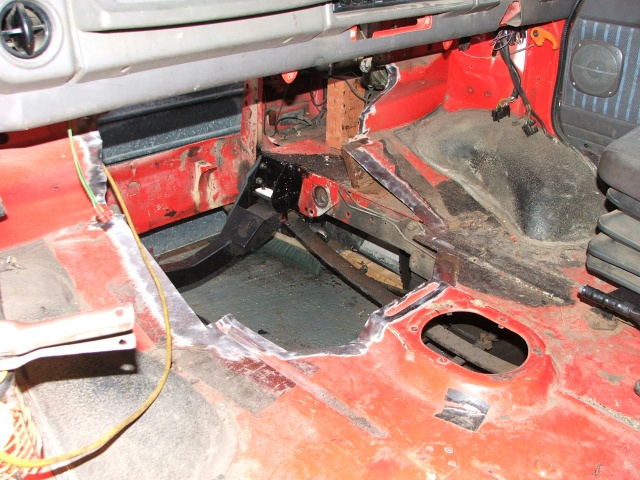
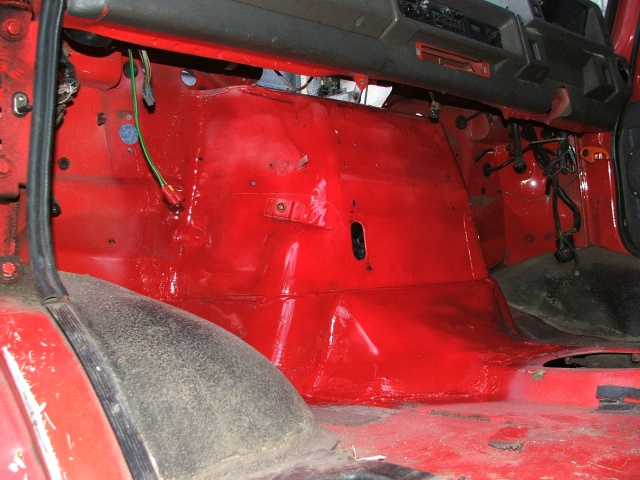
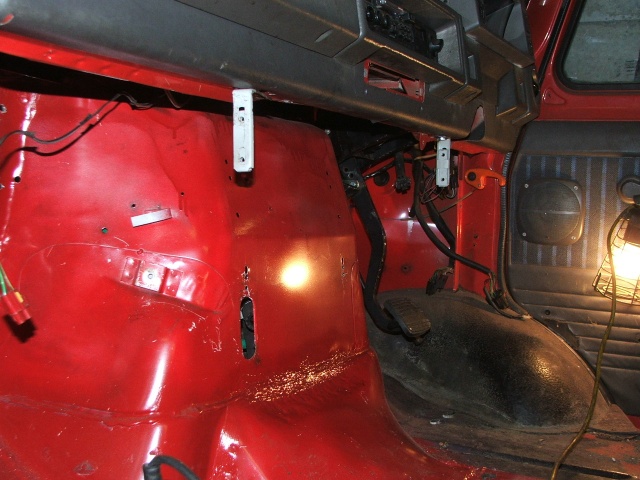
The biggest problem fitting a V8 into a 200series sherpa is the lack of space in the engine compartment. I took a careful look at the 400 series and decided that the central portion of the bulkhead would weld nicely over a suitably cut hole in the 200series. So all I had to do was cut a hole in the bulkhead and weld the relevant section of E271KUL over the hole.
The bulkhead before (inside)
 |
 |
 |
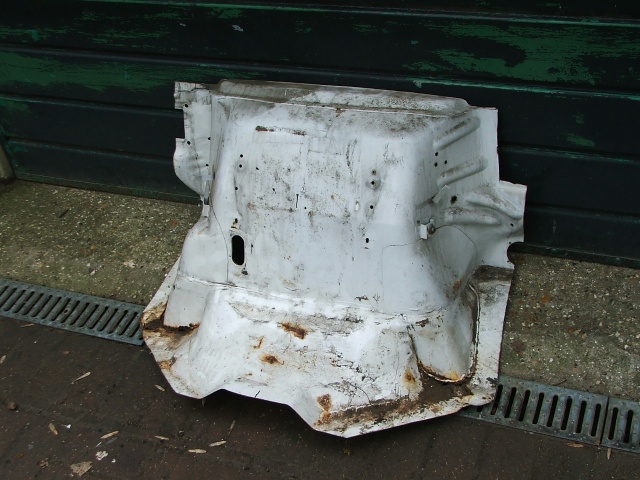
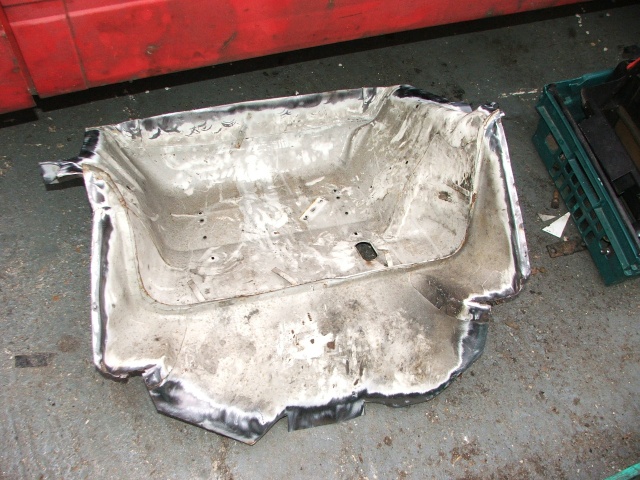
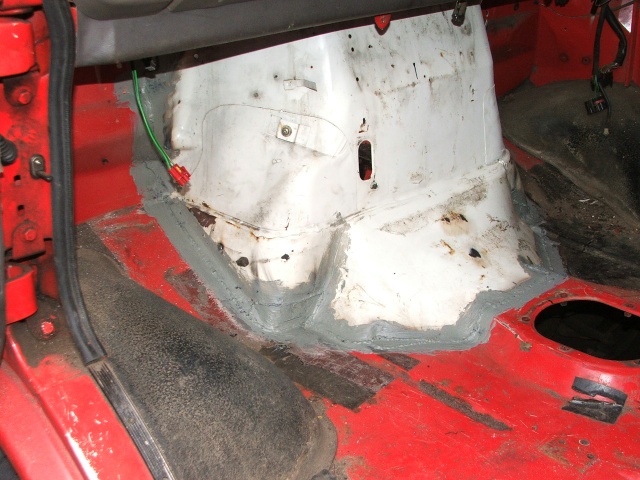
The new piece
 |
 |
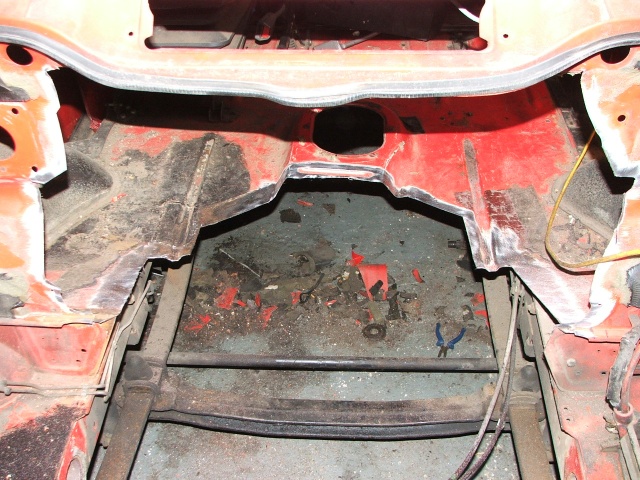
Then the sequence of cutting the hole and welding the new piece in
 |
 |
 |
 |
 |
 |
 |
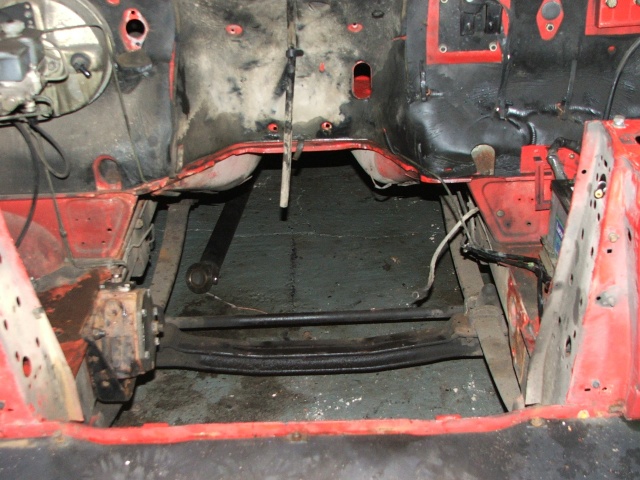
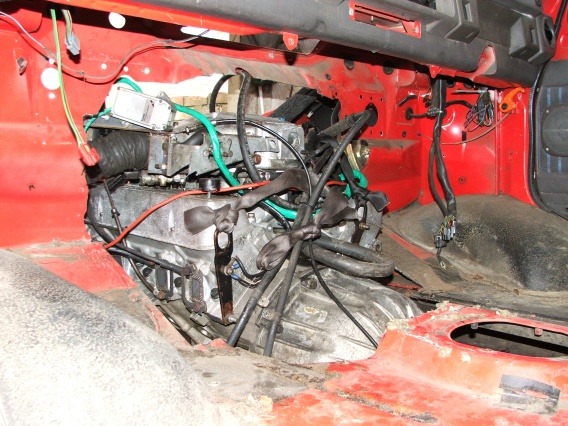
Partway through that process, it made sense to see if the engine would fit, and where the engine cross member should go.
 |
 |
 |
Then the engine could be dropped in finally. Then all the various ancilliaries and stuff needs to go in
The heater should be easy, but some fettling was required as I failed to notice a slight difference between the bulkheads. Hence the heater is mounted about 10mm lower than it should be.
 |
 |
 |
 |
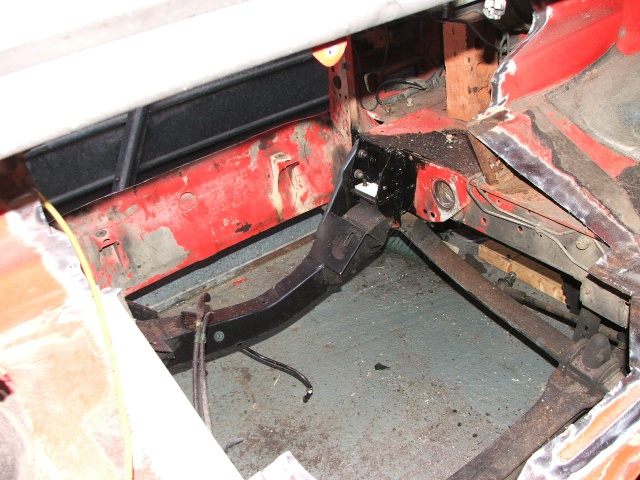
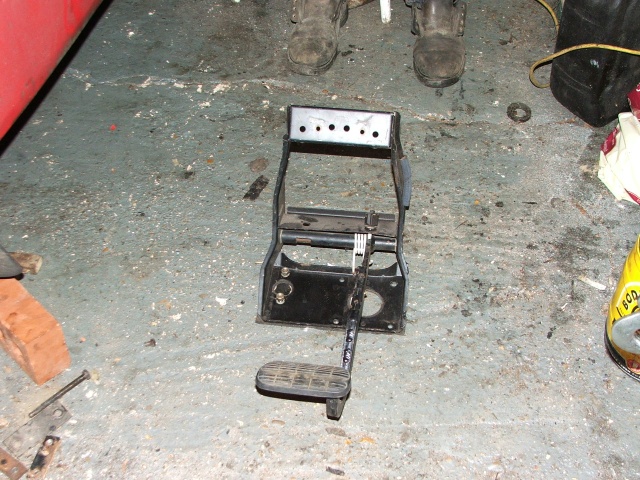
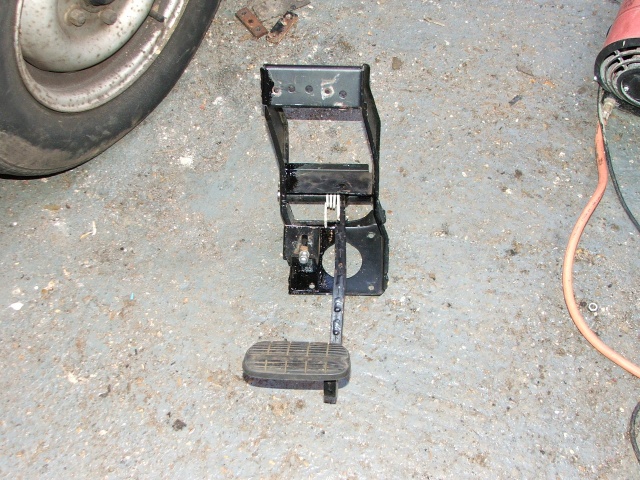
The pedal box was now too wide, so it had to be made narrower to fit back onto the bulkhead. Lucky I didn't need a clutch pedal!
 |
 |
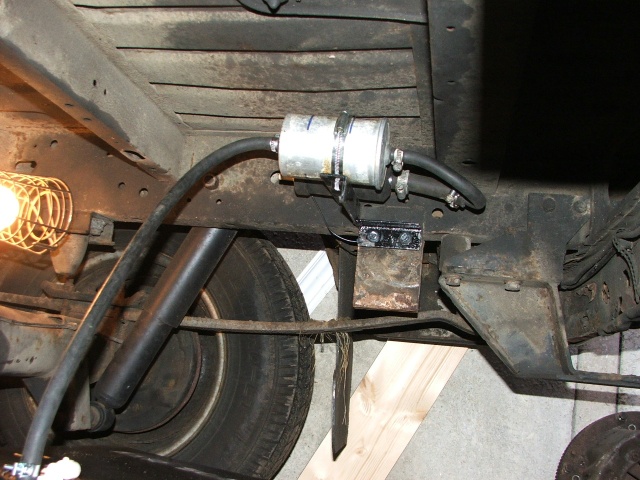
Fuel Injection engines generally have a nice electric fuel pump near the tank (often inside it). I made a little bracket and mounted it above the tank at the rear of the van.
 |
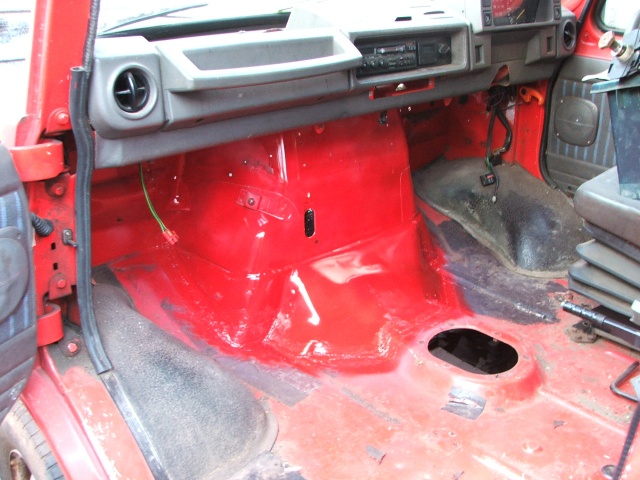
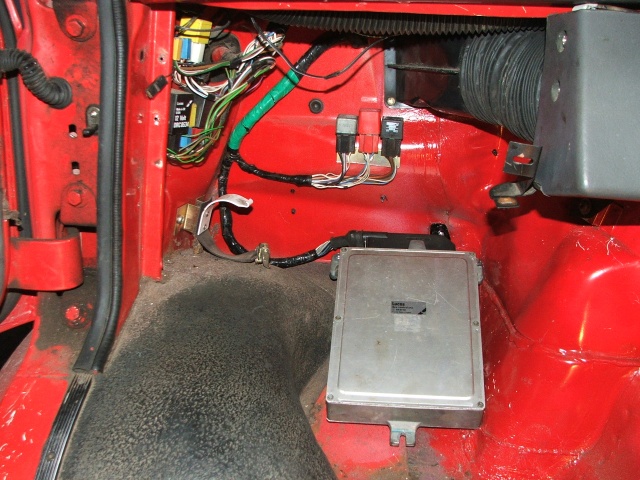
The ECU needs to go somewhere nice, the passenger footwell seemed like a good place
 |
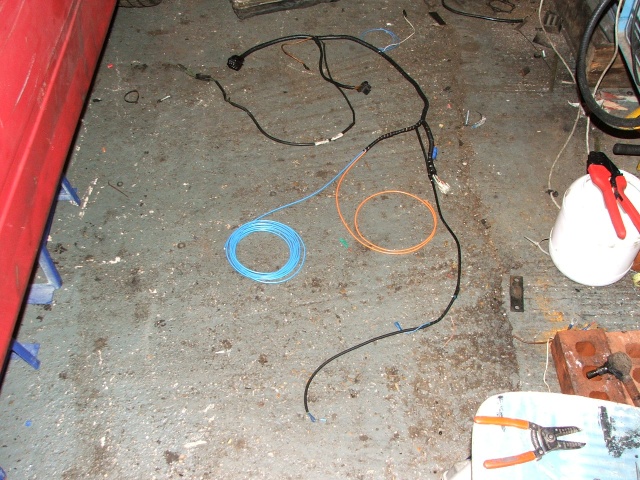
The existing wiring loom on the van has a convenient multiplug in the engine compartment which brings all engine related signals to the same point. Equally handily the 3.5 EFi system has a 4 pin multiplug which provides everything it needs. So I made a joining loom based on the old Diesel loom for the multiplug and a bit of ingenuity for the EFi multiplug.
 |
The heater air intake is above the bonnet on the 200 series, but behind the radiator grille on the 400 series. Hence I had a hole to blank off
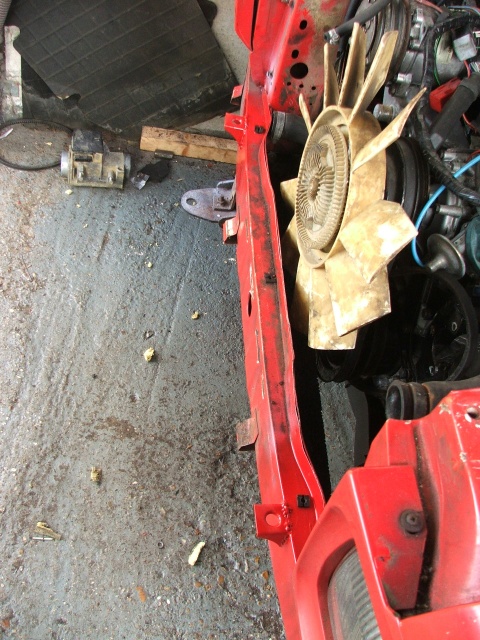
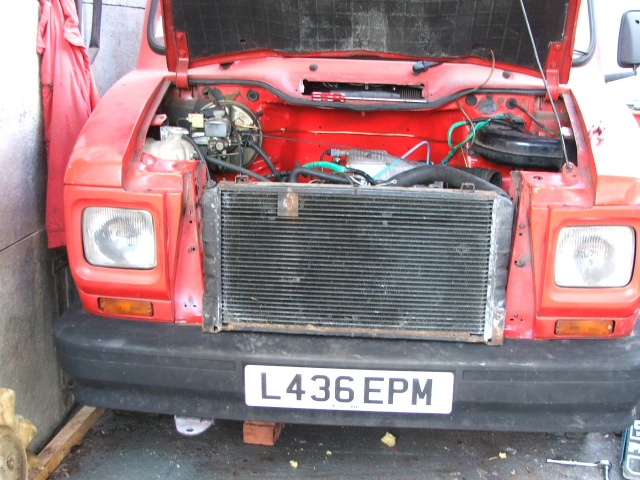
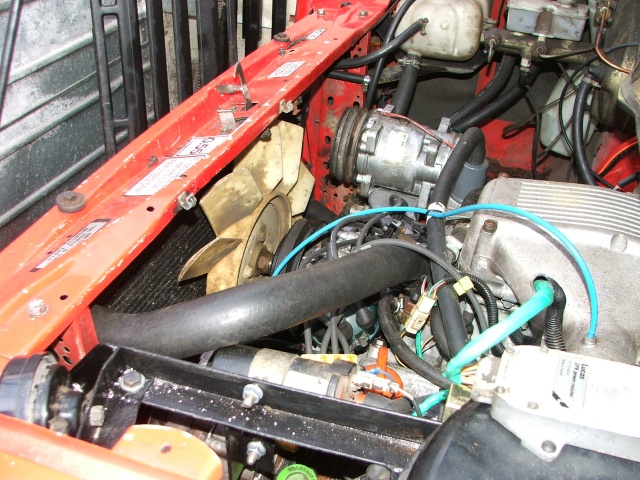
The V8 is much longer than the old 4 cylinder Diesel, so the radiator has to go above the front bumper. That entails moving the rad mounts from behind the front crossmember and reattaching them to the front.
 |
 |
 |
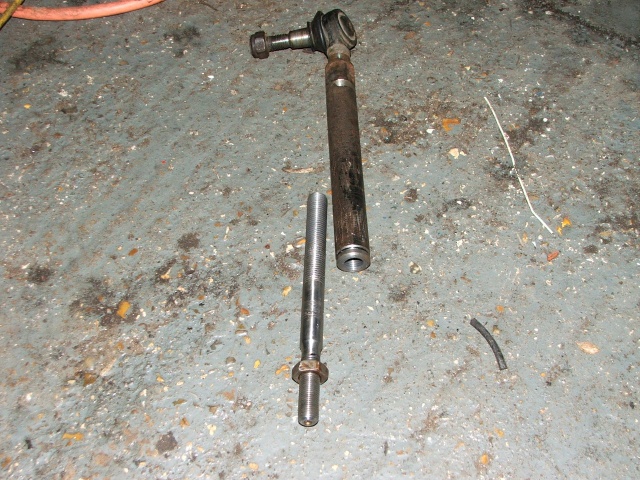
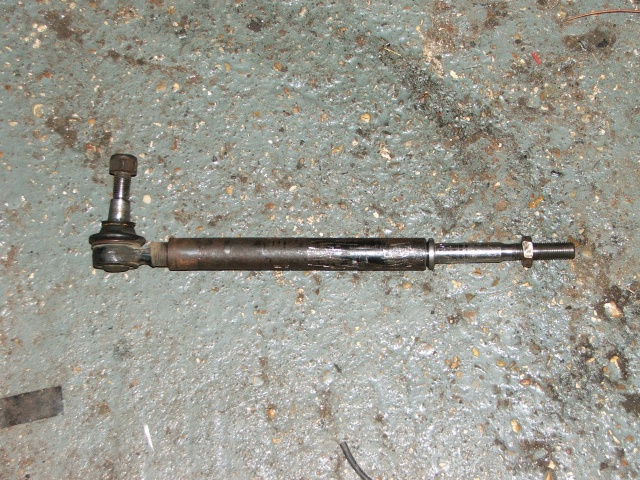
I decided to fit power steering, so I obtained a steering box supposedly from a 200 series. Although the box fitted the chassis, the ball-joint taper in the drop arm was larger than the one that came off. So a colleage of mine made an insert and tapped / threaded the various linkages that I had to enable a drag link to be made that had odd size ball-joints at the ends. Once assembled, I welded it up and painted it.
 |
 |
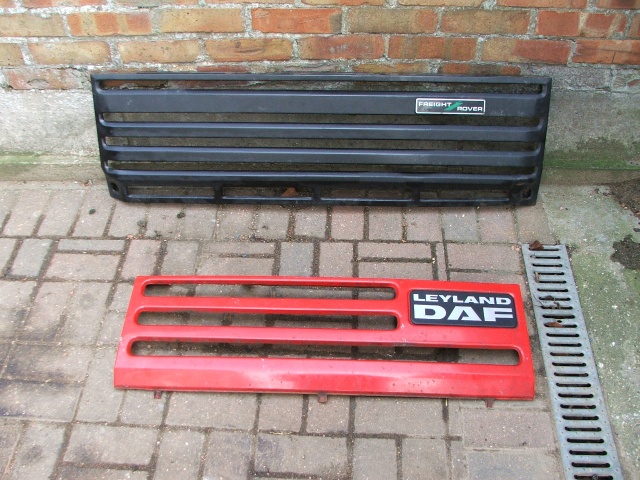
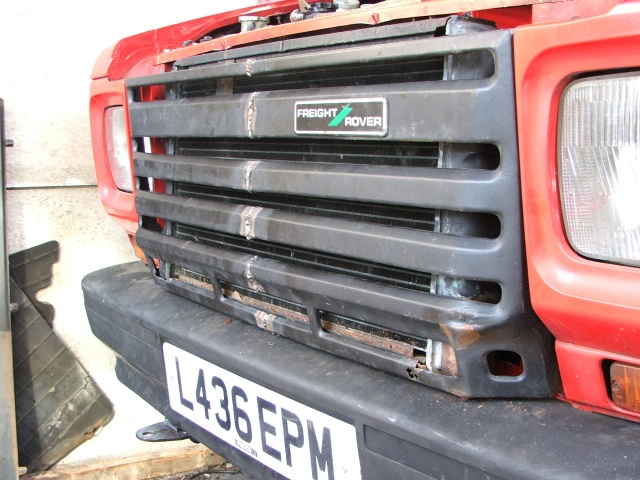
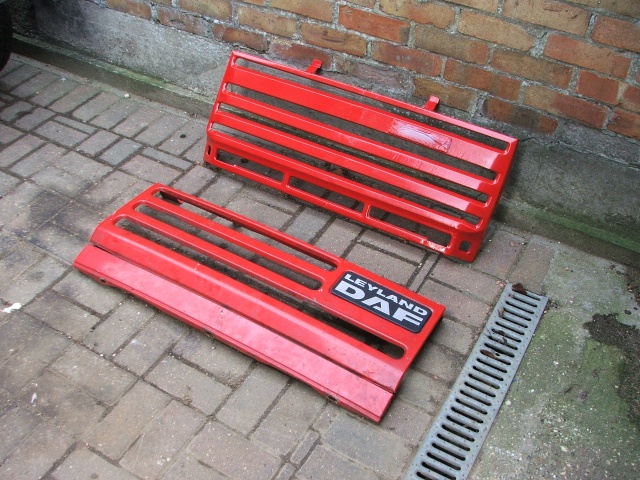
As the radiator is now mounted above the front bumper, the original radiator grille won't fit. So I modified a 400 series one to fit.
 |
 |
 |
 |
 |
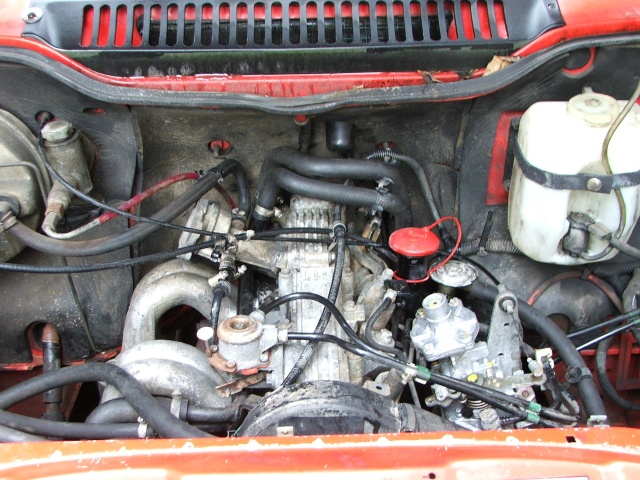
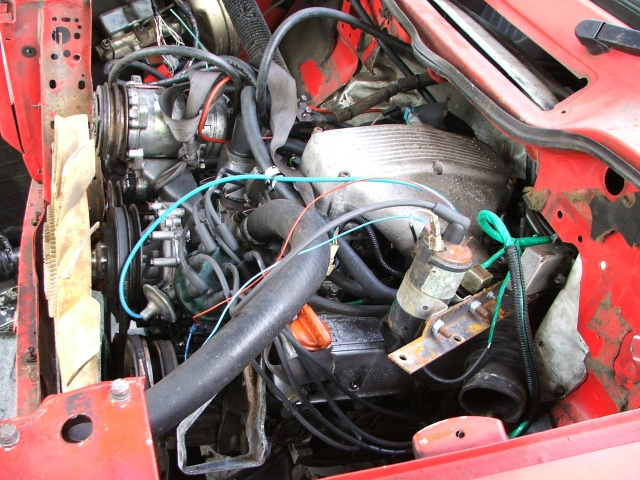
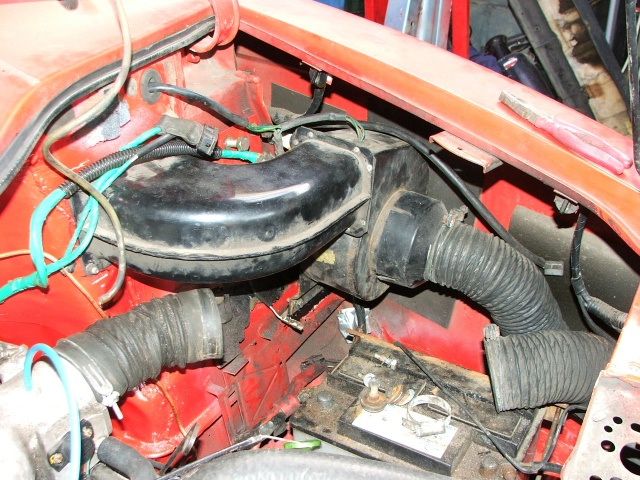
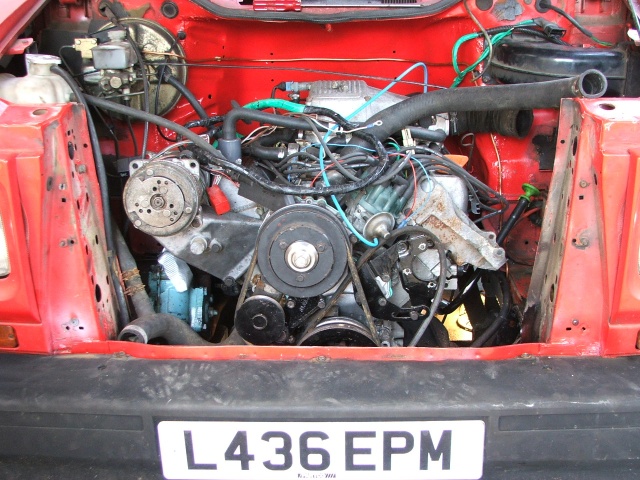
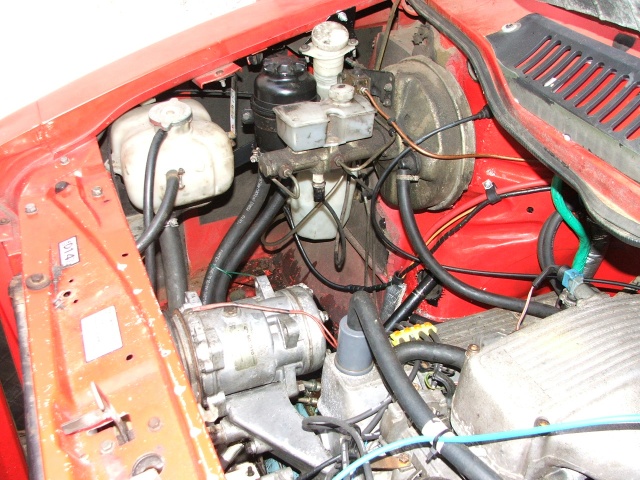
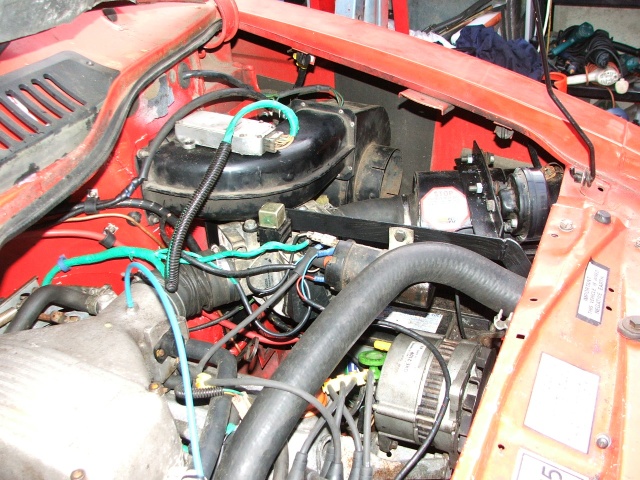
And so the final engine compartment looks like this
 |
 |
 |
 |
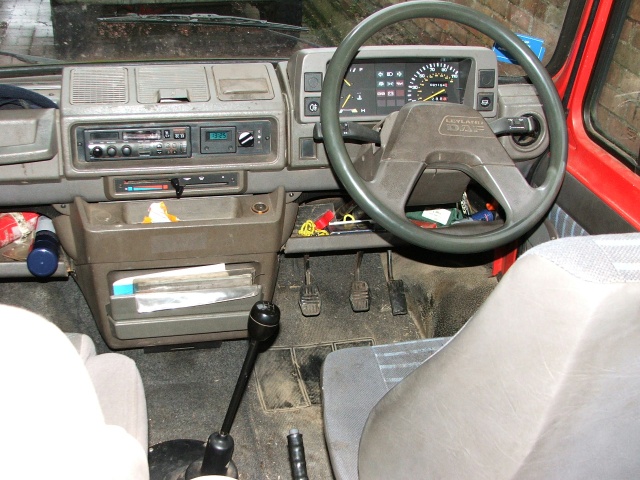
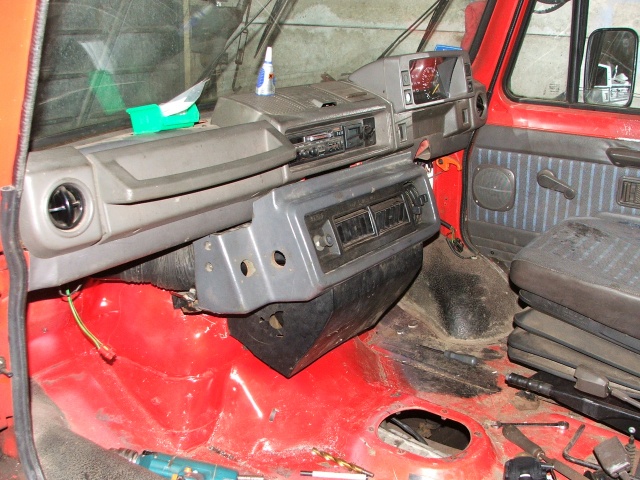
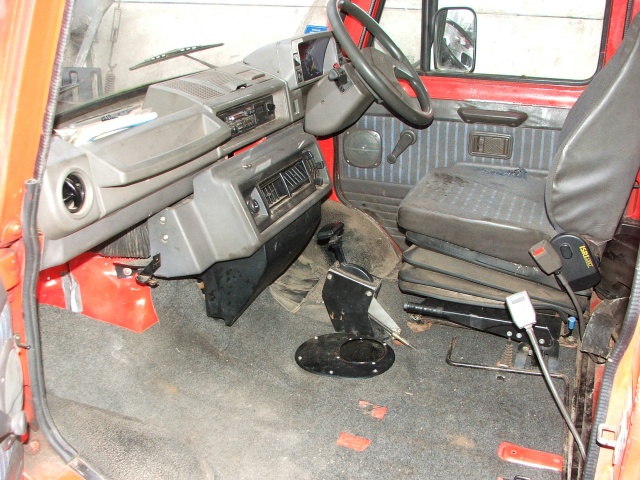
The inside looks like this
 |
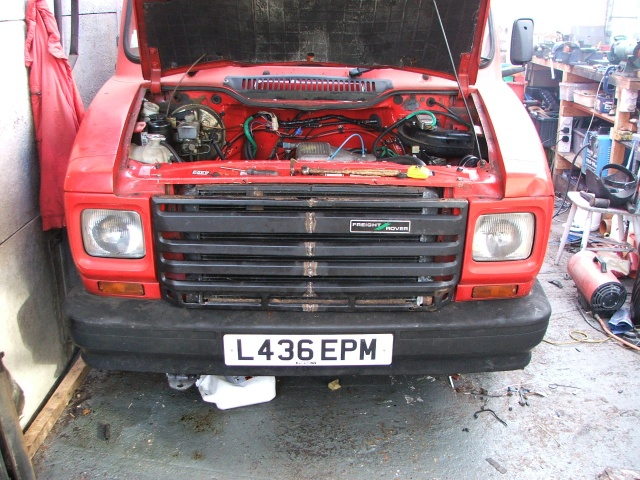
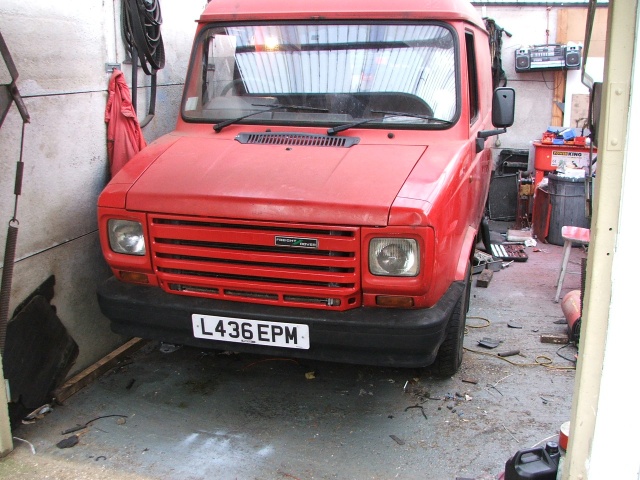
And the outside like this
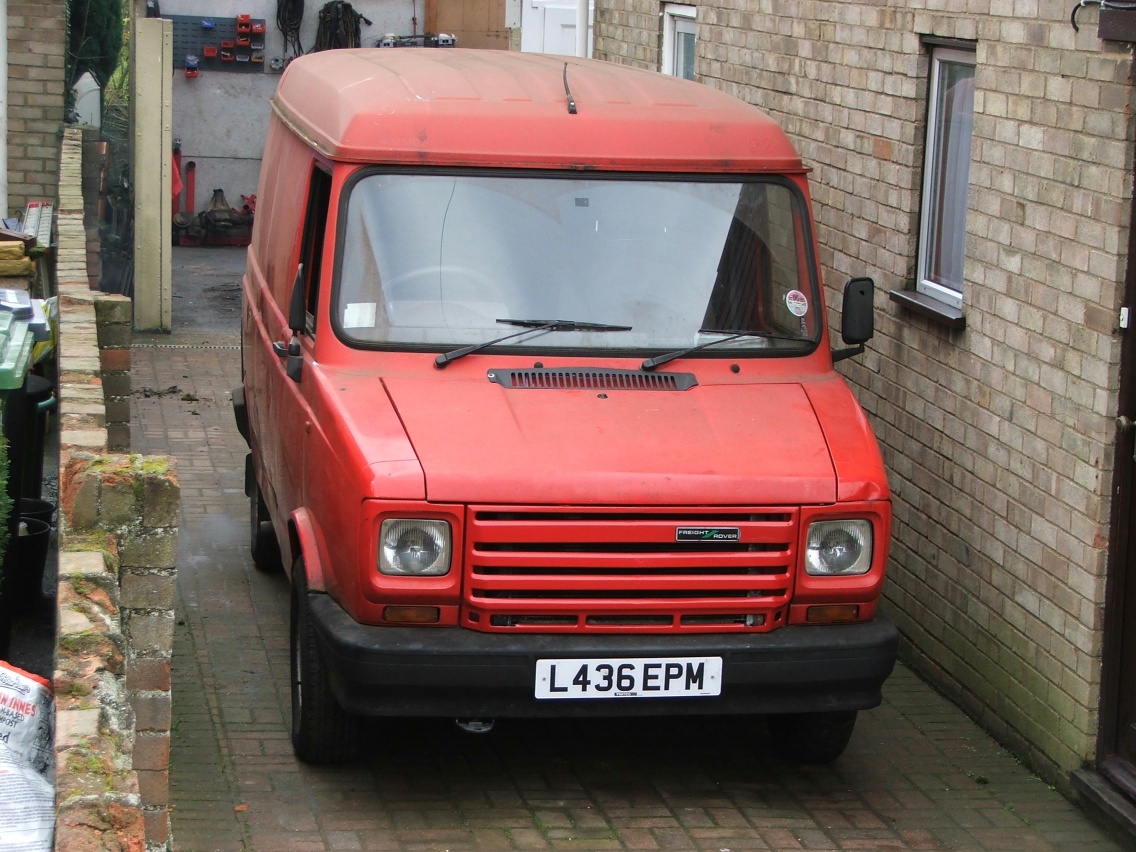 |
Note how it looks exactly the same as before, except for the radiator grille
Before for reference:
|
